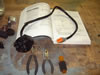
Getting Ready |
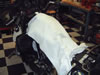
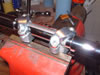
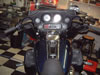
 Batwing
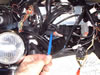
 |
Hidden Screws |
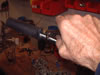
Exposed |
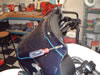
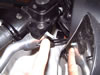
Tricky Release |

Success |
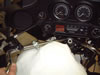
Console |
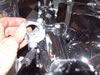
Clipping Ties |
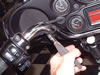
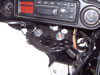
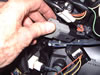
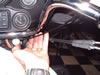
Controls |
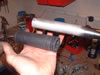
Brake Shim |
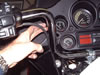
Remove Bars |
Compare Clamp |
No Bars |
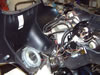
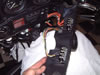
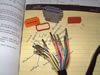
 Control Wiring
 |
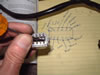
Documentation |
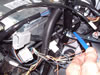
Connector |
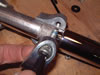
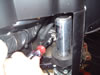
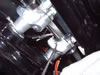
Clamp Assembly |
Clamp Alignment |
Connector Relocation |
Old and New |
Internal Wiring |
Right Connector |
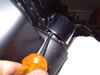
Brakeline |
Throttle Assy |
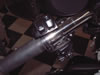
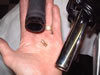
Clutch Cable |
 Left Grip
 |
See! |

Switch Block |
Finished! |